


I've been asked by some of the ladies who signed up for my Party in the Garden BOM through ThimbleCreek for a basket tutorial. So here you go! This little basket is going to be in each corner of my new Buttonwood pattern too. Since I'm a multi-tasker, I'm killing two birds with one stone. I'll make a basket for the new design, while fulfilling the wishes for a tutorial.
Here's the end result, a 6-1/2" unfinished, cute little basket.

The following series of pictures addresses how to make the basket handle. Once the handle is made, the rest of the block is a piece of cake. Just take your time and accurate cutting is absolutely essential.
Start with (2) 3" x 3" blocks cut from background fabric and (2) 3" x 3" blocks from the contrasting fabric.

With right sides together, using a quarter inch ruler, mark each of the blocks like this. Stitch along the marked lines.

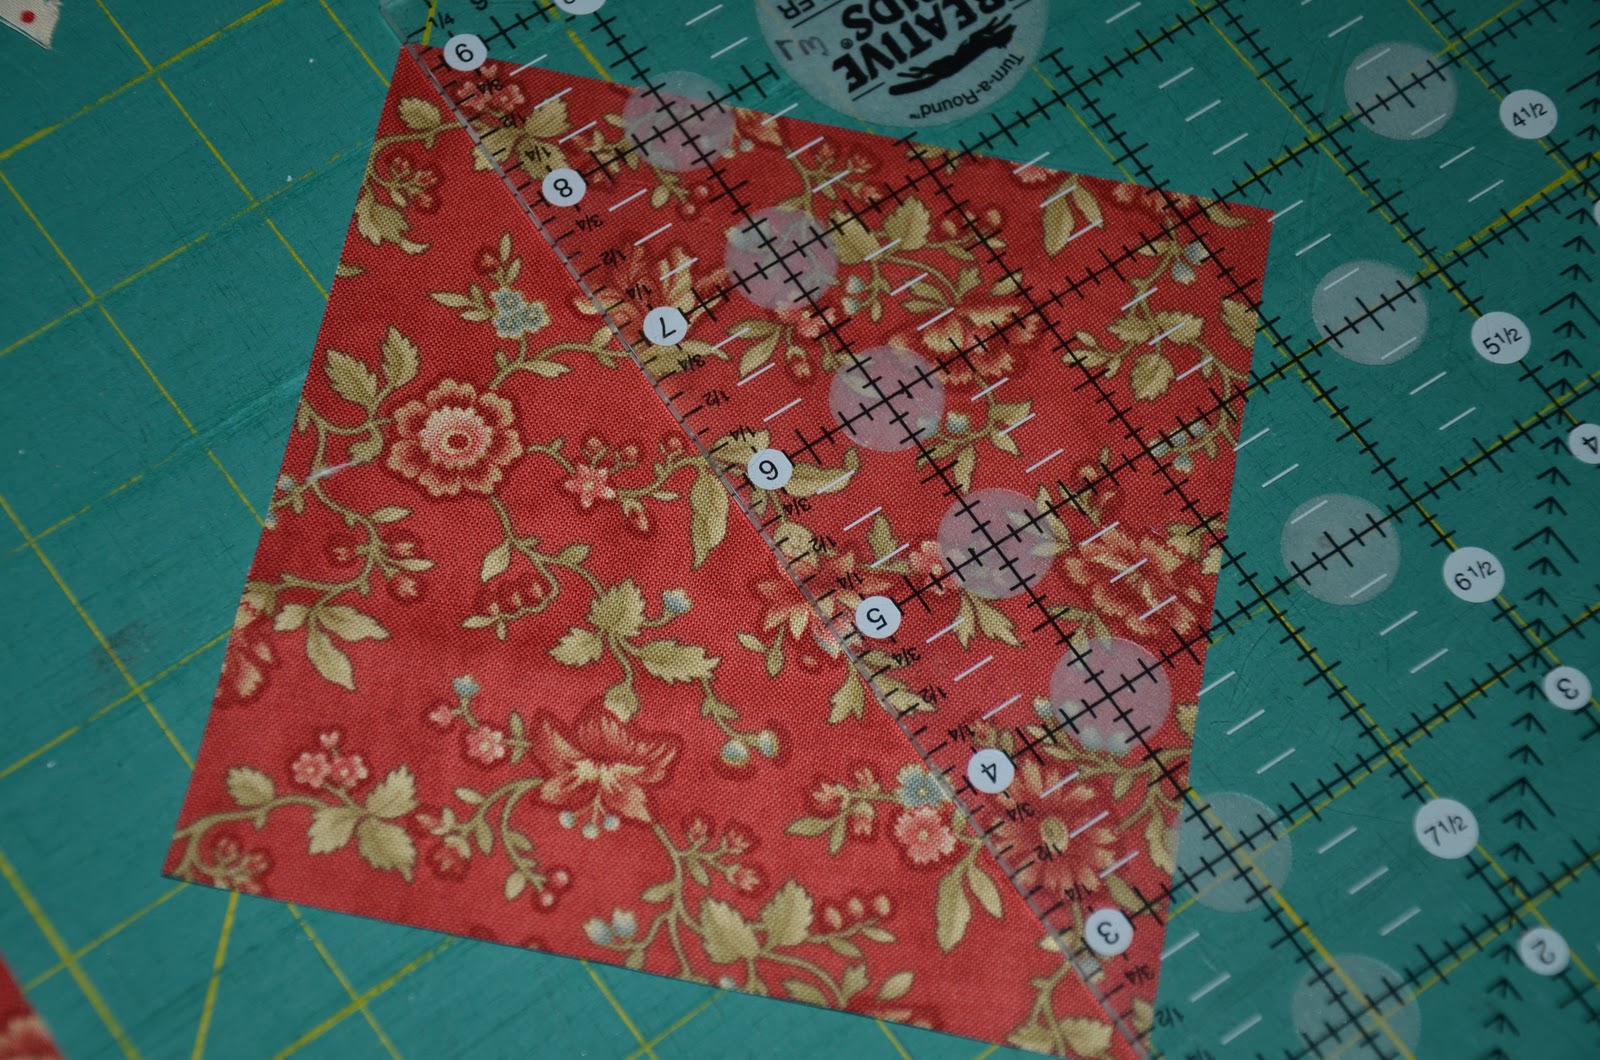
Line a ruler up at the 1-1/2" vertical mark, which should perfectly intersect the center of the block, hold your breath and cut.


Now you have eight sections like this.

Cut between the stitching lines.

You will have a total of 16 half-square triangles. You will only need 12, but save the extra four for another basket.


Trim each of the 12 HST (half-square triangles) to exactly 1". With a Bloc Loc ruler, you can just slide it from one side to the other for easy trimming.


You will have 12 perfect 1" HST.

Next from background fabric, cut (1) 1-3/8" square and cut it in half diagonally. This is for the end of the handle.

From the background fabric, cut (1) 3-7/8" x 3-7/8" square for the basket top. Cut it in half diagonally. Save the extra side if you wish to make another basket.

Place each of the above pieces like this. Stitch the HST together in groups of two. Press each section carefully so you don't stretch them out of shape. Press the seams toward the top of the basket handle. This is important! Finish stitching all of the HST together.

It should look like this. Then sew the triangles to the bottom of the HST strip and press this seam toward the triangle.

Almost done with the handle.

Cut (3) 1" x 1" squares of contrasting fabric for the top of the handle.

Stitch one square to the HST strip. Press toward the 1" square.

Sew left HST strip to the basket background. Have your stitching intersect the previous stitches and you will not loose any points in the handle.

Press toward the large triangle.

Stitch right HST strip to the other side. Press toward the large triangle.

The hardest part is now over!

Cut (1) 4-7/8" x 4-7/8" square and cut in half diagonally.
A flange is optional here. Cut (1) 1" x 10" strip of flange material, fold it in half with wrong sides together and press. Be careful not to stretch the flange. Stitch it to the basket bottom a scant 1/8" along the raw edges.

Attach top of the basket to the bottom. Always trim the little dog ears off. Press flange down and back seam up.

For basket base, cut (1) 1-7/8" x 1-7/8" square and cut it in half diagonally.

It goes here.

For the remaining pieces, cut (2) 1-1/2" x 5-1/2" rectangles for top and (2) 1-1/2" x 3-1/2" rectangles for sides. Cut (1) 2-7/8" x 2-7/8" square and cut in half diagonally for bottom base.

Your block should look like this.

From background, cut (2) 1" x 1" square and place at the top of the basket. Make a four-patch section from the four squares.

Sew basket base triangles to 1-1/2" x 3-1/2" rectangles. Press toward the dark triangle base. Then stitch to basket sides.

Stitch the left long rectangle to the basket. Press toward the rectangle Sew the four patch at the top of the basket to the 1-1/2" x 5-1/2" rectangle. Press toward the rectangle. Stitch the bottom triangle to the basket base.

You are finished, an almost perfect 6-1/2" basket block is your reward.

No points were lost in the making of this basket! Well, almost no points.

Have a great weekend everyone. I have three more little baskets to make for Buttonwood, then I can put it all together!
As always,
Lynn
WOW!! Gorgeous block...thanks for the tutorial!! Loved it!
ReplyDeleteP
And all those teeny tiny little HST don't look so impossible after all!
ReplyDeleteFantastic! You made this look SO easy, Lynn! I'm sure loving the Bloc-Loc's, too!
ReplyDeleteCheers!
Thanks, I love these little baskets. What a great way to make those little HST units! What was the width of the flange piece that you cut?
ReplyDeleteThis basket is just adorable and THANK YOU SO MUCH for your wonderful tutorial. Now I want to make a small quilt with these blocks :-D
ReplyDeleteI love it!!! Thank you so much for this incredible tutorial. The pictures are perfect!!! Like Sue I want to make a small quilt with these blocks.
ReplyDeletethank you! I love your comment about 'no points were lost in the making of this basket..." It's really a slick way of creating all those half square triangles. I used this method (which someone told me is called a 'magic 8') when making the Farmer's Wife blocks. Really moves things along much quicker! Awesome tutorial. thank you again!
ReplyDeletekaren