

.jpg)


Hello Everyone,
Recently, I was asked by a reader to make a tutorial on how I make labels for my quilts. Some of you are probably old enough to remember the TV show "You Asked For It," hosted by Jack Smith in the 1950's. "Whatever it is, wherever it is, at home or around the world, you see it here, YOU ASKED FOR IT. And here's your hostess, Lynn Wilder."

First of all I scour the Internet looking for vintage images with the same coloring, look and feel of the quilt for which I'm making the label. I save the image with a right-mouse click, select SAVE PICTURE AS, to my computer and then print it on Printed Treasures fabric. I use the highest quality setting on my inkjet printer and the colors always come out crisp and clear.

Next, trim the image a consistent 1/4" around the entire image.

Carefully peel the backing paper away from the image. This is the hardest part of the whole procedure.

I always save the leftover binding to attach my labels to the quilt.

I cut the sides 1-1/2" x the length of the image, and stitch them on first.

Then I cut the top and bottom borders which are also 1-1/2" x the width of the label with the sides attached. Always press the seams in the direction of the borders.

Place the label on top of a plain backing fabric, right sides together. Using a rotary cutter and ruler, trim around the entire label.

Pin the two pieces together and stitch 1/4" around the entire perimeter of the label.

Then trim off the four corners to reduce bulk. Carefully, make a small slit in the backing fabric, and turn the whole thing right side out and use one of those "little pointy thingies" to poke out the corners and make them square.

Press, and you have a perfect label.
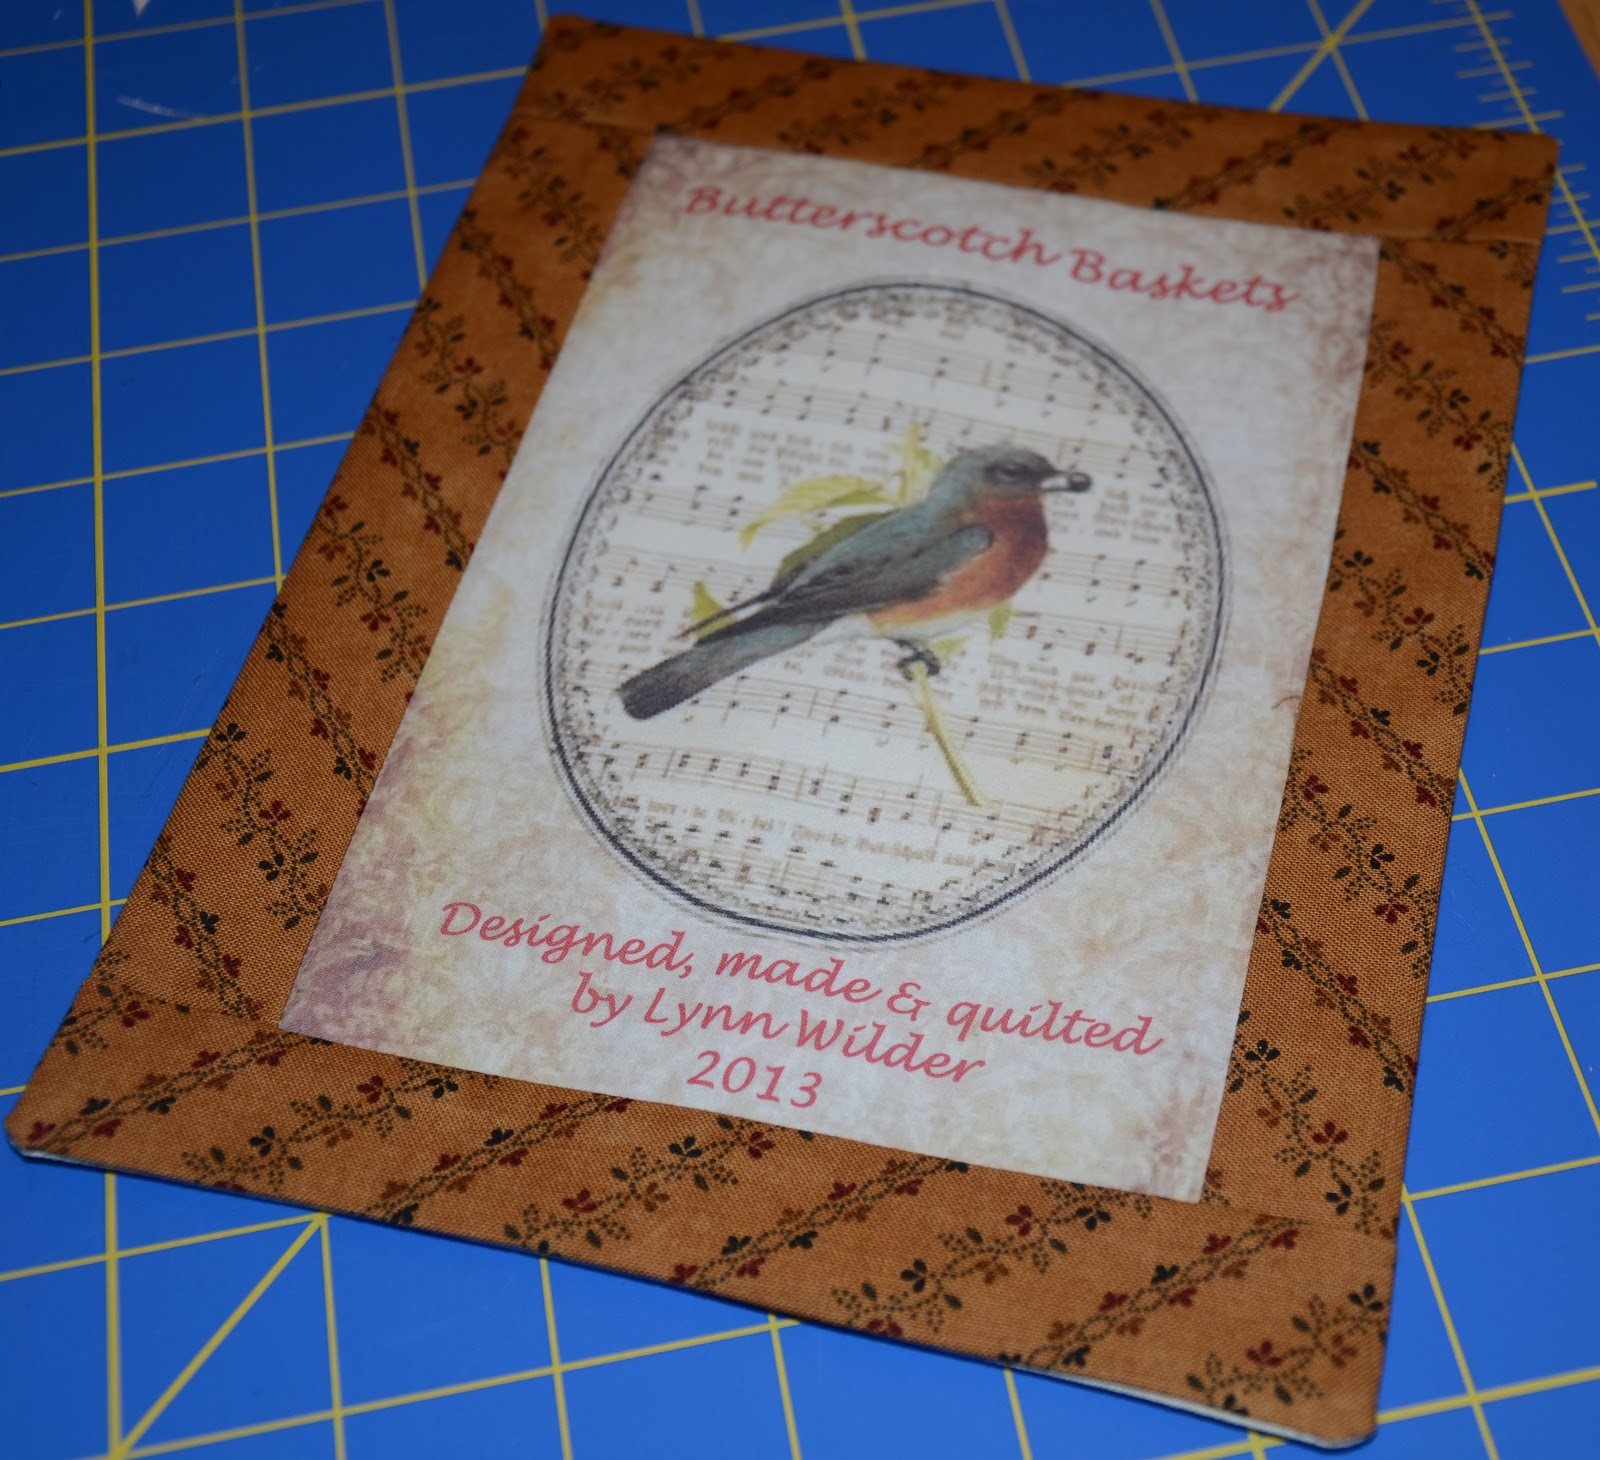
The last step is stitching in the ditch between the border and the printed label with matching thread. Then, using silk thread which just melts into the fabric, attach the label to the quilt with a blindstitch.

That label went on this quilt, Butterscotch Baskets.


That concludes todays program, sponsored by Sew'n Wild Oaks. If anyone else has other quilty questions, (that I think I can answer with some level of knowledge) send an email or a comment to patched55@comcast.net and the answer will appear on the next segment of YOU ASKED FOR IT!
Soon,
Lynn
P.S. I will also copy and paste this tutorial under the Virtual Classroom tab at the top of the blog for permanent reference.
Thanks for the great tutorial ! This is one thing I need to do... put labels on my quilts
ReplyDeleteThanks for the tutorial....I never thought of doing it that way....
ReplyDeleteThank you so much Lynn. That is exactly what I needed to know and what a great way to make a label. I LOVE it. I think even I can add labels to my quilts now. Hugs!!
ReplyDeleteThank you!
ReplyDeleteI have never put a label on a quilt. Oops.
What a great tutorial! Thank you for sharing.
ReplyDeleteI have no questions because your tutorial was so perfectly done.Thank you for a wonderful lesson!
ReplyDeleteThank you Lynn!
ReplyDeleteI remember watching You Asked for It with the whole family - even Gramma came in with her nightly "stubby"! How wonderful that you've brought a bit of the past - and mostly the present back to us, Lynn! Great way to make a label! I have no excuses now not to!
ReplyDeleteCheers!
And do you remember Jack Smith playing the ukelele in The Doris Day/Gordon MacRae movie
Delete"On Moonlight Bay"???
The label is wonderful and the quilt is exquisite.
ReplyDeleteLove the label, thanks for the tutorial and your quilt is beautiful
ReplyDelete