


.jpeg)


It was suggested to me in an email that I put a tutorial together on how to make a flange....or "gutless" piping as I sometimes call it. So Nancy here you go.

For this flange, I started with two strips that I cut on the bias...3/4" by 16-1/2". (I almost always use a stripe or a check fabric for my flanges.)

Gently fold the strips in half with wrong sides together and press. Be careful not to s-t-r-e-t-c-h the flange!

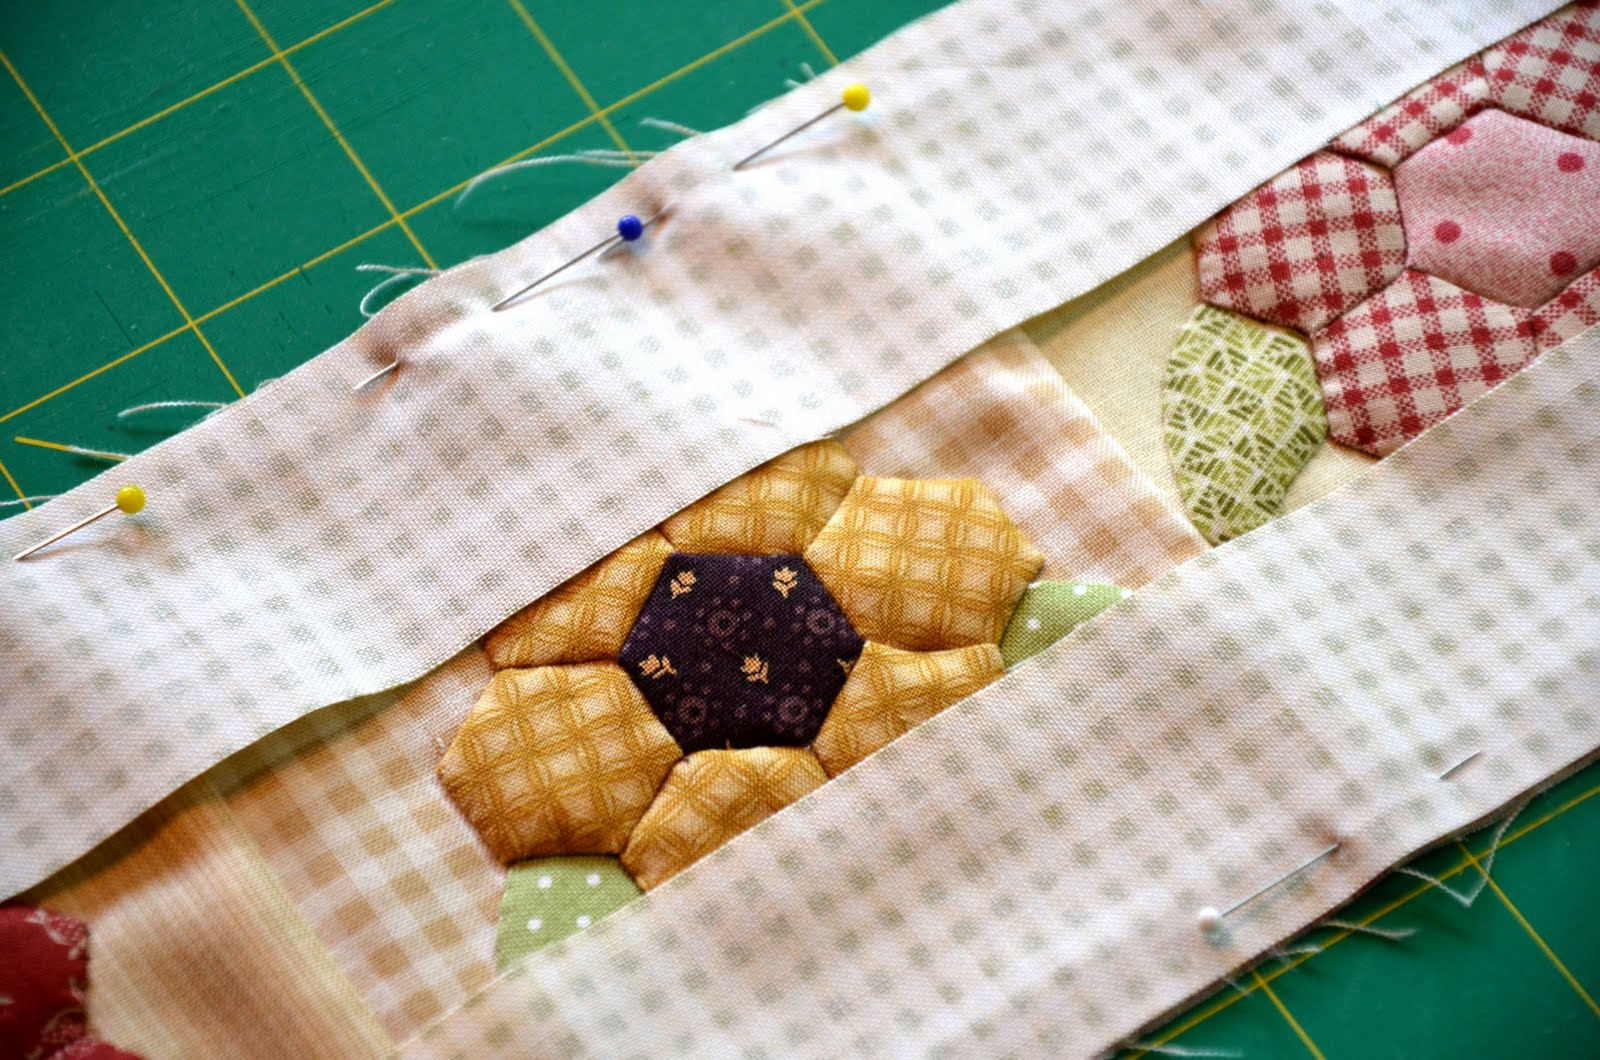
Place the prepared flange on top of the block with raw edges together. Pin.

Ever so slowly, (I can put my machine at 1/2 speed), stitch a scant 1/8" of an inch along the raw edge. You can also use a stiletto to keep your fabric feeding properly. (I don't mean stiletto shoes!)

Now I take my fabric that I use for my "frame" and place it over the flange with right sides together.

Pin and stitch....again slowly. We aren't running any race here to the finish line.
Stitch an exact 1/4" seam.

Press the frame fabric away, with the flange facing to the inside of the block.
One 'stinkin' cute flange. (That is for you Lisa!) Lisa has taken several of my classes and she makes me laugh every time she says 'stinkin' cute.

Next, I stitched the flower section to the picket fence section and voila! That teeny, tiny little strip adds so much to the look that I'm trying to achieve with this quilt. It would be so much plainer without it.

There you go, one easy-peasy flange tutorial. Yes, it will take you more time to add a flange, but it's worth the time and effort.
As always,
Lynn
I'm with Lisa!! STINKING cute!! Thanks for the tutorial!! Love it!
ReplyDeletePaulette
Lynn, Thanks so much for the tutorial! It is exactly as I used to do tiny piping (minus the cord/string) for the little sleeves/collars/etc on my daughter's smocked dresses. (A long time ago) I love the new colorway for PIG - but I'm still working on the other one! Yep, just a bit behind! Thanks again - Happy Stitching! Julie
ReplyDeleteWell, that looks easy-peasy.....I'm anxious to try it again now that you explained how to do it. It does add so much to the look of the quilt.
ReplyDeleteThanks Lynn. I will have to give that a try now.
ReplyDeleteI did it! I signed up and now I can't wait to get my first block! I was told they are cutting the fabrics now and they'll be ready to deliver in July. Can't wait! I know it'll be beautifully because you've picked all the fabrics.
ReplyDeleteI ageee -- it's just too stinkin' cute!! Would be just so plain without it!! Love it, love it, love it!!!!
ReplyDelete~Lisa
Thanks for the tutorial
ReplyDelete