


Hello Everyone,
Have you always wondered how to mark a nice, even cross-hatched pattern on a quilt? How do you get perfectly mitered corners? How do you do this if the length is different than the width? Well, when I took my second class at the HandiQuilter headquarters in Utah, the mystery was solved. The instructors taught me about cross-hatching and I'm going to share my knowledge with you.

To begin, you need your tools of mass creation. A roll of adding machine tape, a pair of scissors, a large triangle ruler, a long ruler, and a fabric marking pen.
Lay a piece of adding machine paper along the outside of the inner border on the side of the quilt. This is important to get the perfectly mitered corner. (I know the roll of adding machine tape looks like a miniature roll of toilet paper.....but it's not.)
 |
| Side of the quilt |

Do the same with the top of the quilt. In this case, the top measurement is different than the side measurement. Not to worry.....trust me.
 |
| Top of the quilt |
Fold the strips of paper in half, then in half again and again until you get them down to about an inch. Any smaller and you will go crazy.

You will end up with two little accordions. Mark which one is the top and bottom and which one is for the sides. They are going to be a little different in size.....which is okay. It takes the measurement and evenly distributes the difference give or take a 1/32th of an inch here and there. When a measurement goes below 1/8th, I give up and throw in the towel. Life is too short to worry about 1/32th of an inch. I just do the best I can.

Place the paper back on the quilt, and using a fabric marking pen, place a little "tick" mark on the quilt at each fold of the paper. You can barely see my white tick marks right next to the red border.

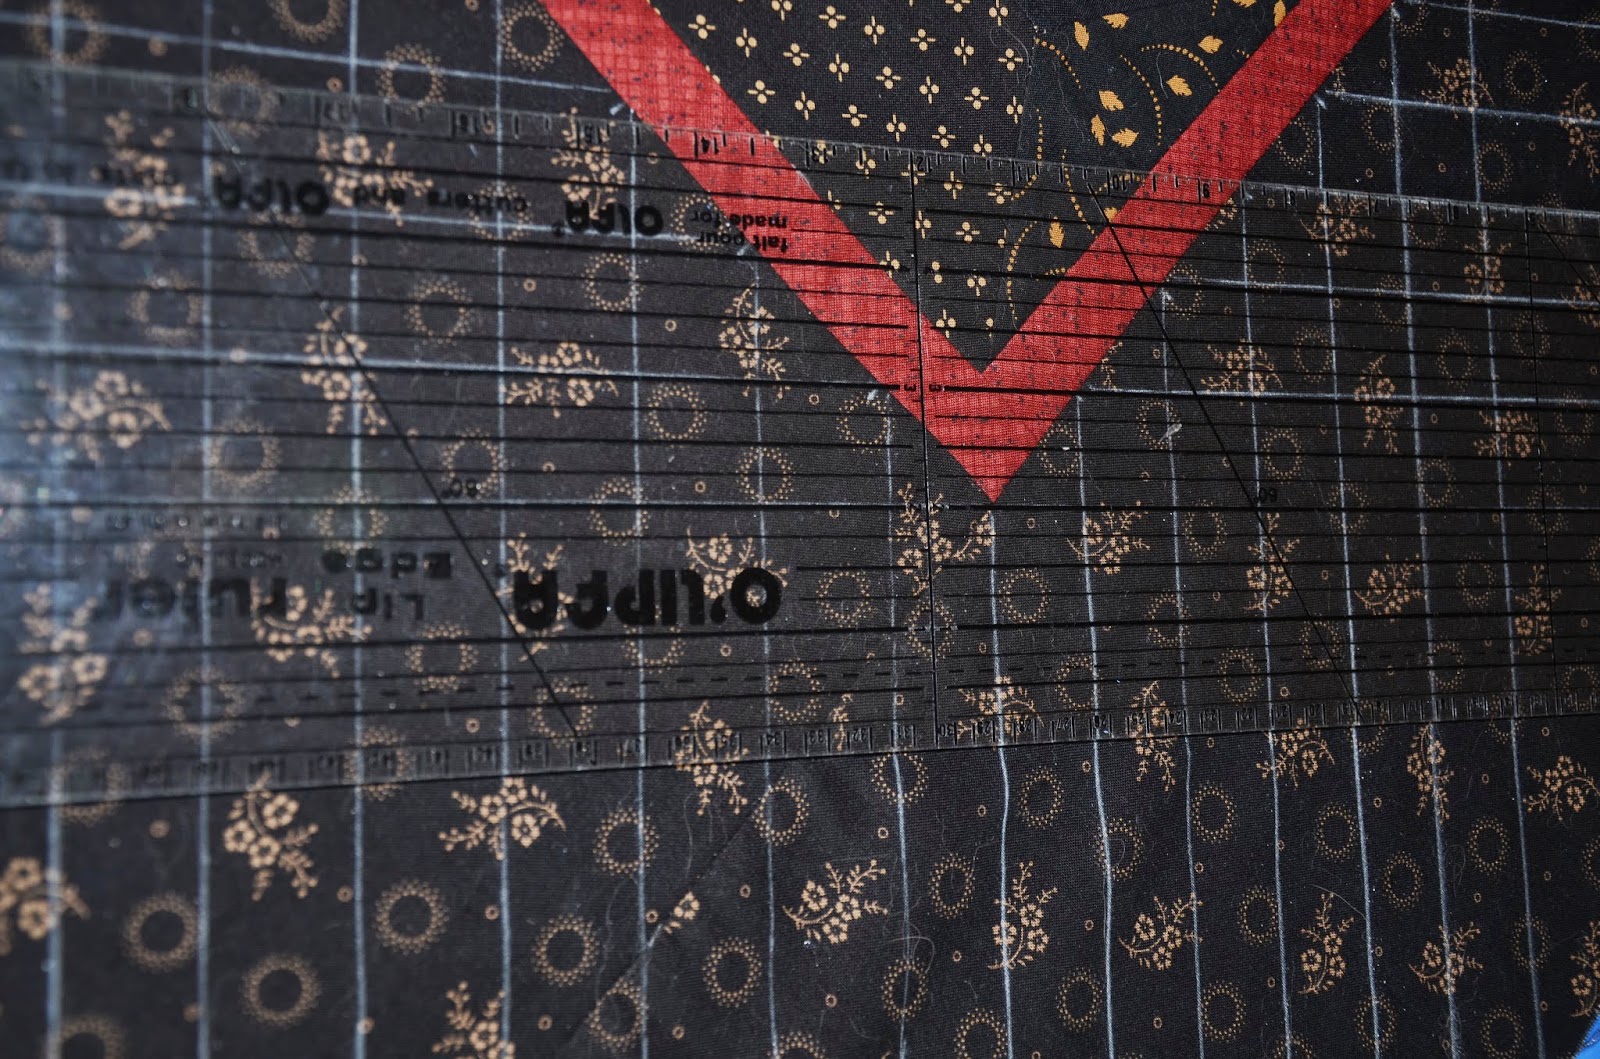
Place the triangle ruler on each point. Use the border of the quilt as your plumb line, so your lines will be straight. Draw a line on each side of the ruler. Does this take a fair bit of time you ask? YES, or H-E-double toothpicks yes, but the results are worth the effort.


Now take your long ruler and draw lines across the corner. This worked out to be a 1" grid, so my lines are 1" apart.

Mark the lines all the way out to the corner of the quilt. See how the grid looks? It's not magic, it's just time consuming, and this quilt is going to look fabulous. Is it perfect? Probably not, but nobody is going to know.

With my long arm I will outline all around the ribbon and hexies to make them pop. I love my little hexies with their little checked centers. Too cute!
Once you turn the corner, just work your way around the quilt, marking the grid. I used a Sewline tailor's pencil for marking this black fabric. I tested the pencil first for removal with water. I found out when I was marking, that the pencil is disposable. I had additional lead, which I didn't need because there is absolutely no way to load the pencil. I made it all the way around the quilt to the last two lines before the lead ran out. Just like a bobbin......almost done, and the lead runs out! How do inanimate objects know when to run out?? Now that is the biggest mystery when it comes to quilting.

Soon,
Lynn
Love this quilt, can't wait to see it finished.
ReplyDeleteGreat tutorial! This would work for hand quilting too.
ReplyDeleteWho the heck thought about using adding machine tape....great idea......the quilt is going to look beautiful...
ReplyDeleteThank you for the lesson!
ReplyDeleteThis was a light bulb moment for me, Lynn! Thanks so much for pulling the chain!!
ReplyDeleteCheers!
BRILLIANT!! I hope you don't mind but I PINNED this and put it under tutorials for when I need it!! Thanks for taking the time to show us!!
ReplyDeleteP
Great to know! Thanks for sharing.
ReplyDeleteWhat a beautiful quilt. What is the name of the pattern?
ReplyDeleteThat is so clever and your tutorial made it all seem very easy and achievable. I reckon we'll be seeing loads more cross-hatched quilts in the world now.
ReplyDeleteInteresting! I absolutely love cross hatching!
ReplyDeleteBreaking News!
ReplyDeleteOnce again, the extraordinary Mrs. Wilder educates us, breaking down the complex into the achievable! She and her wealth of knowledge & inspiration are, as always, sheer perfection!
{Hugs!}
Nice tutorial Lynn! I always appreciate your willingness to share your talent! :)
ReplyDeleteThank you so much for posting this, Lynn, You shared this technique before but this time, as Candace said, the light bulb went on and it's brilliant and no longer intimidating.
ReplyDeletevery nice quilt! Thank you for sharing this technique
ReplyDeleteWhat would be the issue if my corners don't come together along the outside of my border???
ReplyDelete