Friday, June 3, 2011

Minglewood Blocks

Hello Everyone,

The strange weather we've been experiencing has forced me to stay inside and quilt.....so quilt I did!  I've been working on the blocks for the Minglewood Monday Block of the Month.  Details HERE if you are interested in the program. 


Here are some close-ups of a few of the blocks.


Some of the blocks are very simple.....


......and some are more complex.


Same block pattern.....different use of color makes a big difference in the look.


**Warning, these blocks become addictive!


As always,

Lynn

Thursday, June 2, 2011

The Watering Can

Hello Everyone,

Here is a little bouquet of sunshine on this dreary, rainy day in sunny California.  Oh yes, I forgot to mention the hail too.  Perfect weather for quilting instead of being out in the sunshine working in the garden.  I had to resort to creating my own garden inside.  This is a much cleaner way to garden....no dirt under my fingernails.  (Just an occasional spot of glue.)


I thought I would snap a picture before I fill this full of pins.


This will be the permanent place for the watering can for all eternity.  I think it is going to like it there!  If you are interested in joining the Party in the Garden Block of the Month, go HERE for all of the details at ThimbleCreek quilt shop in Concord, CA.


It is 38 degrees here this morning.  Is it June or Juneuary?  The storms just keep rumbling across the state and up into the mountains.  Snowflake Lodge is open for the summer, but I doubt there has been a soul brave enough to venture in the icy cold lake for a dip.  I'm ready for summer, but somehow along the way we lost our Spring.

I'll just stay inside and create my own rays of sunshine today.....I hope you can do the same.

As always,

Lynn

P.S. TINA, please send me your email so I can answer your questions regarding the block of the month.  

Wednesday, June 1, 2011

Easy, Peasy Flange Tutorial

Hello Everyone,

It was suggested to me in an email that I put a tutorial together on how to make a flange....or "gutless" piping as I sometimes call it. So Nancy here you go.


For this flange, I started with two strips that I cut on the bias...3/4" by 16-1/2".  (I almost always use a stripe or a check fabric for my flanges.)


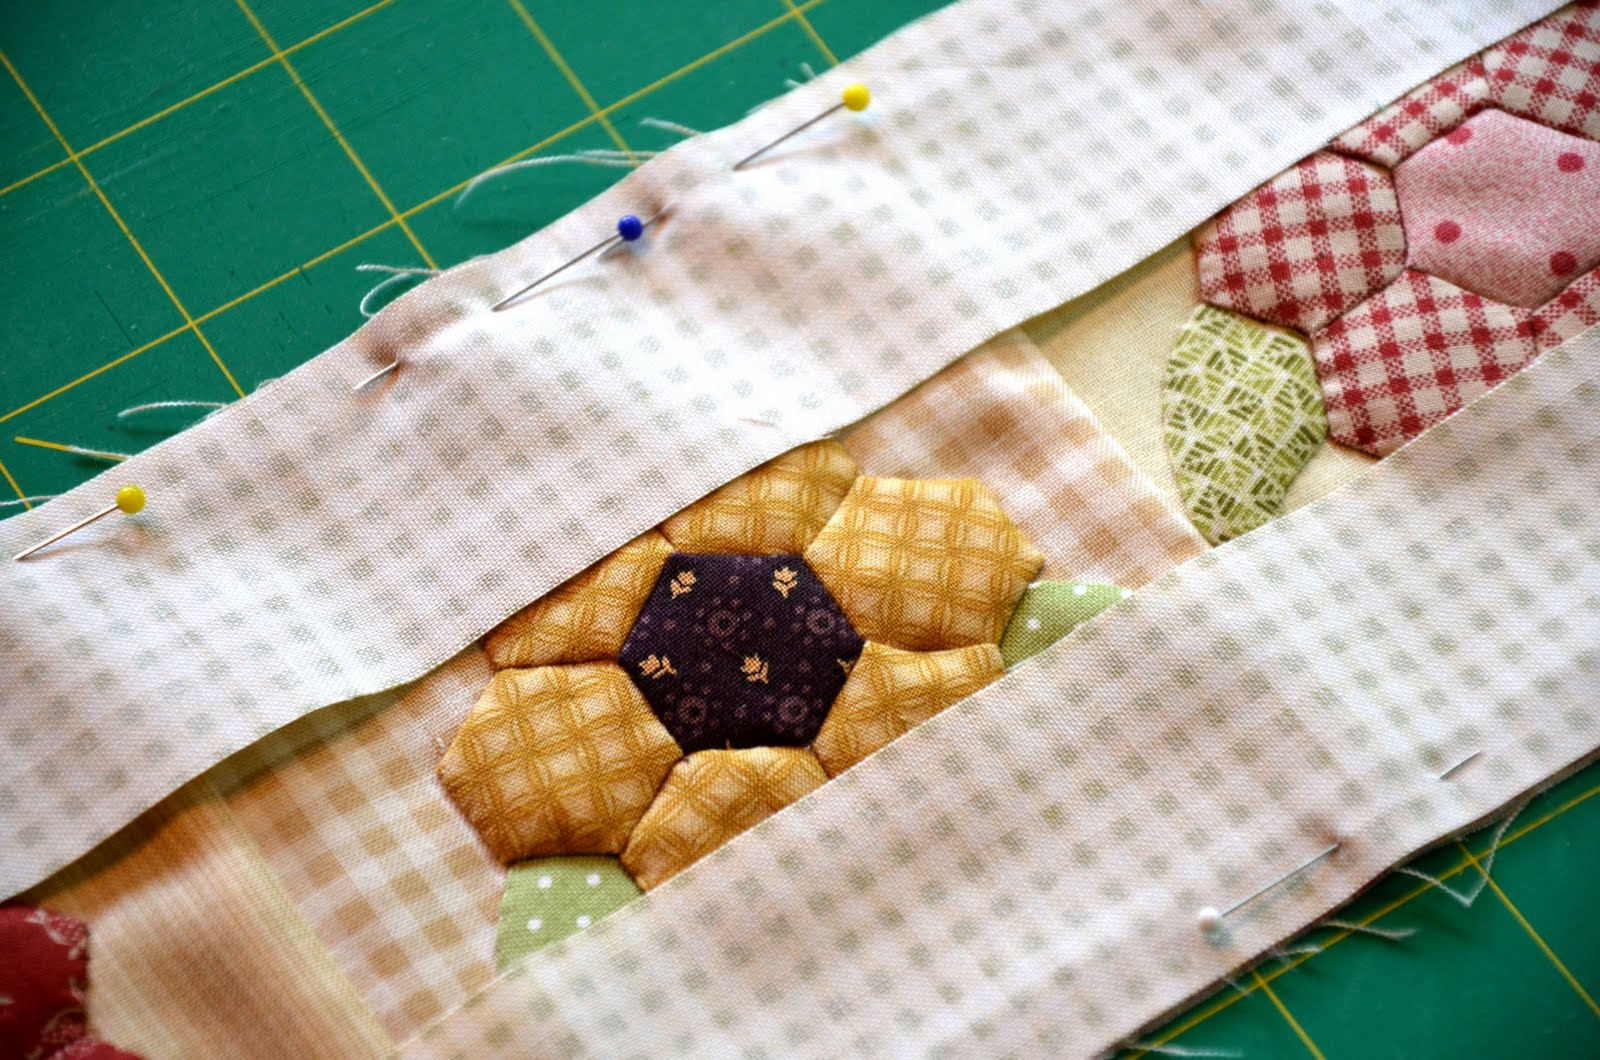
Gently fold the strips in half with wrong sides together and press.  Be careful not to s-t-r-e-t-c-h the flange!


Place the prepared flange on top of the block with raw edges together.  Pin.


Ever so slowly, (I can put my machine at 1/2 speed), stitch a scant 1/8" of an inch along the raw edge.  You can also use a stiletto to keep your fabric feeding properly.  (I don't mean stiletto shoes!)

Now I take my fabric that I use for my "frame" and place it over the flange with right sides together.

Pin and stitch....again slowly.  We aren't running any race here to the finish line.

Stitch an exact 1/4" seam.

Press the frame fabric away, with the flange facing to the inside of the block.

One 'stinkin' cute flange.  (That is for you Lisa!)  Lisa has taken several of my classes and she makes me laugh every time she says 'stinkin' cute.


Next, I stitched the flower section to the picket fence section and voila!  That teeny, tiny little strip adds so much to the look that I'm trying to achieve with this quilt.  It would be so much plainer without it.


There you go, one easy-peasy flange tutorial.  Yes, it will take you more time to add a flange, but it's worth the time and effort.

As always,

Lynn